

Change our 3d Box Frame Template.
The two videos below will show you how to change our 3d Box frame template using Paint.net. As you may recall from another recent blog post Paint.net iss a free graphics program which you can download from their website www.getpaint.net. (please ensure you only download it from the official website). We have released a nice selection of 3d Box frames for you to use but we may not have one which suits your project. This tutorial will show you how to use our template and change it to something more suitable.
Changing the Colours.
The first video is pretty simple. This just shows you how to change our 3d box frame template from the existing colour to your own choice.
[youtube id=”N0XzYRELt3A” width=”600″ height=”350″ autoplay=”no” api_params=”” class=””]
The steps as shown in the video are.
- Open the template.
- Use the colour pallet on Paint.net to choose the two (or one or more) colours you want. You can make one the primary colour and one the secondary.
- Ensure you have the flood fill tool selected (looks like a paint pot).
- Click in each area where you want the colour to change. A left click will change it to you primary colour. A right click to you secondary colour.
- Select File / Save As… to save the new frame giving it a different name. This will ensure you don’t overwrite the original template.
And it’s as simple as that. In no time at all you should be changing the frames to any colour you want.
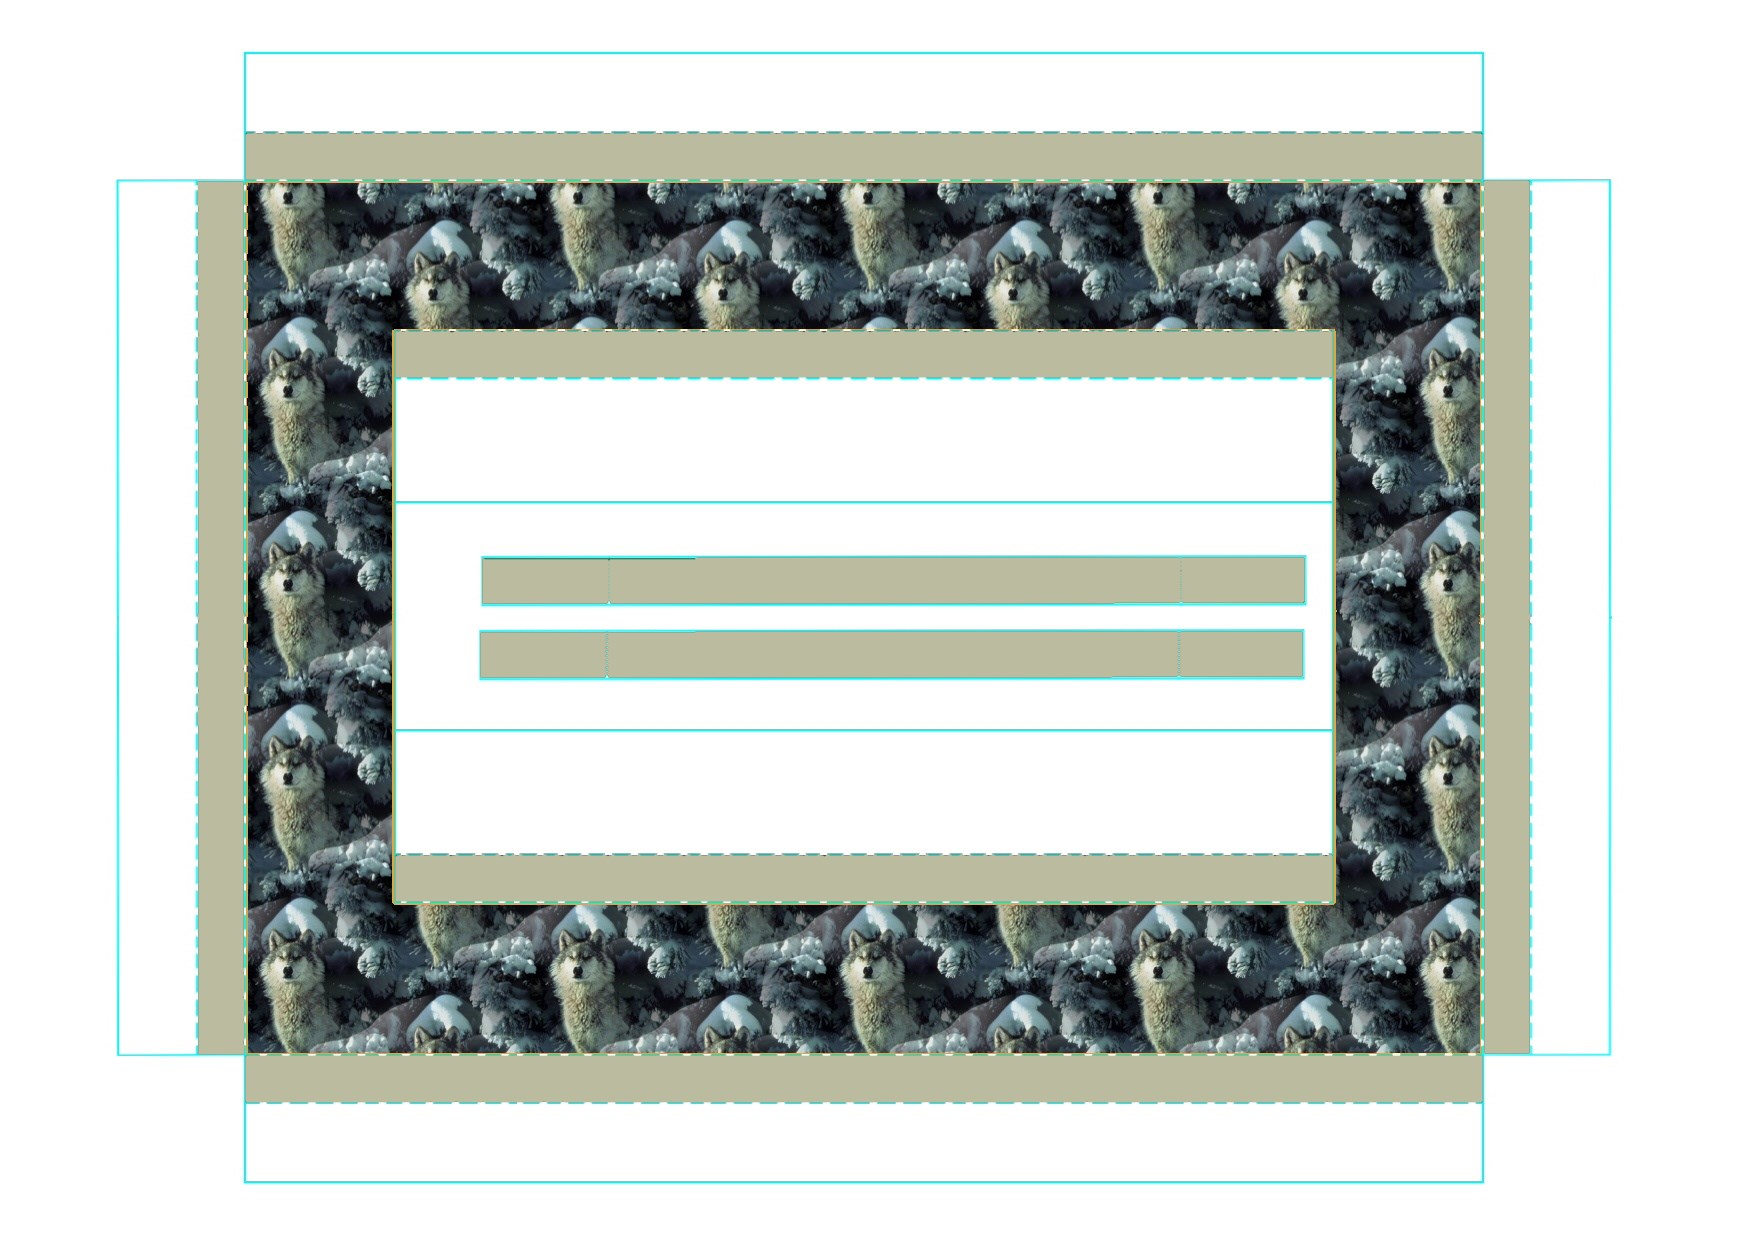
Adding a Pattern to the Frame.
This will seem a little complicated at first but after you’ve done it a couple of times you will wonder what the fuss was about! It’s actually quite logical. This about it as if you were doing it in real life rather than on the computer. You
re getting the two sheets one on top of the other, making sure the template is on top. You are then cutting a hole in the template so the patter at the bottom shows through.
[youtube id=”fdBQsGAkOEI” width=”600″ height=”350″ autoplay=”no” api_params=”” class=””]
-

Card Making 3D Frame - Open both the template you want to use and pattern sheet. Ideally they should be the same full size. If not the pattern sheet should be larger.
- Copy the pattern sheet (Edit/Select All….Edit / Copy) then switch to the image of the template and paste as a new layer (Edit/Paste into new layer). At this stage, if your pattern sheet is bigger it will ask you if you want to resize the image. Say “No”.
- Go down to the layers pallet and rearrange them so the template is on top.
- No use the magic wand to select the orange area. Once it has been selected press the delete key on your keyboard. The orange area will disappear and the pattern will show through from beneath.
- To colour the sides we used the colour picker to select a colour from the pattern. Then we used the flood fill tool to colour the sides in.
- Once we had done all this we saved it as a new image (File/Save As…) so we didn’t overwrite the original template.
So there we have it. Two different ways to change our 3d Box Frame template. You don’t have to do it exactly as we did. You could use more colour. You could choose to add the pattern to some or all of the sides as weel (by deleting them when you delete the orange bit. Have a play around and see what you can come up with !


