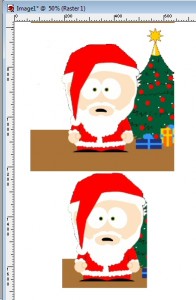
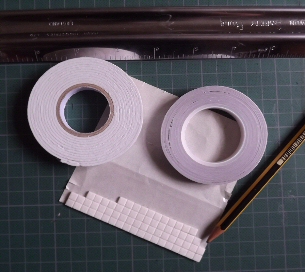
As with many of the techniques on this site this may seem a little complicated at first. However by working through it carefully or better still following the steps and doing it at the same time all will soon make sense with some wonderful results. You could be making your own decoupage sheets!

First we need to open the image we wish to decoupage and make sure it’s the correct size. The size will depend on the size of the greeting card you are going to make or where you are going to put it if you are using it for scrap booking. Remember you are going to print this out so it is best to use a DPI of at least 150. (If you don’t understand that see our article on Images sizes). We will also need a blank A4 sheet open, again at 150 DPI (1245 x 1755 pixels).
Now copy the whole of the image you want to decoupage, File / Copy, and the paste two copies of it onto your A4 sheet. The top image will be our base one and left as it is, we will start deleting parts of the second copy which will be our second layer up. At this stage it’s worth just sitting back for a minute and working out exactly what is in the background and what is in the foreground, e.g. what you want to stand out most.

On the second image we are going to remove what is at the very back first. To do this you will need to use two tools from the tool bar on the left whilst making sure the background colour box on the right is set to OUR background colour, in this case white.
| The tools options palette in Paintshop Pro is extremely important. It will change according to which tool you have selected and will give you the options to go with that particular tool. You can switch it on by pressing F4 on going to View Palettes |
The first tool is Magic Wand which is one of the selection tools (5th down in Paintshop Pro). This tool will select a block of colour. You can change its sensitivity by altering the “tolerance” in the tool options palette (click F4 if you can’t see the tools options palette). You can use this tool to click the main areas of colour in the bits you want to get rid of. Once an area is selected you just need to click the delete button on your keyboard.
 |
 |


Now we are going to use the normal selection tool (looks like a box) to select what remains of our second image and then copy it and paste it on the same sheet so we now have two copies of the altered second image. We repeat the process again, using the two tools to remove all the bits we don’t want from the third image. When that is finished we copy and paste the third image and then work on the forth image. Keep on repeating this until you have all the layers you want.
Remember if you make a mistake at any time, you can use edit /undo to go back a step.
In fact you can do edit /undo several times to take you back several steps.
Our decoupage should now be finished. Save it incase you want to use it again at a later date and then you can print it.
Obviously you can use any image you want but try and pick one where you can see clearly what is in the foreground and what is in the background.
Making your own Decoupage sheets
Authored By: Bob Prentice


