These are tiling techniques for paper crafters to make backing sheets etc.
For most of the functions that you can access from the menu in Gimp there are usually Hot-key short-cuts to the same function which are shown in the menu and which, when you get used to remembering them, can save you loads of time in making your images.
Step 1: Isolating an object in an image for tile creation in the tiling techniques.
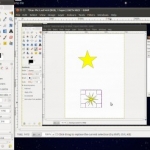
First of all you need to select the area around the object you want to tile, usually the Rectangle Select Box in the tool box is the perfect tool to use.
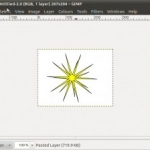
Press Ctrl key and c together to copy image and then press Ctrl, shift and v together(Paste into New Image) to create new image. This only contains the area you selected in the rectangle select box.
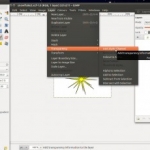
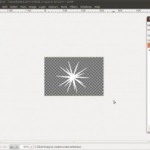
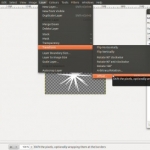
Once you have the picture that contains the item you want to tile you will need to make the image background transparent. To do this select Layer menu – Transparency – Add Alpha Channel.
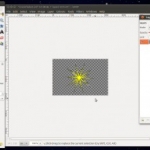
Now when you use the Fuzzy Select Tool to select the background and press the Delete button on your keyboard you will be left with a transparent area.
Step 2: Tiling the isolated image.
First of all we need to duplicate the image layer so we have two copies, there are several ways to do this but I will just list 2 here. You can either right click onto the layer on the layer window and select Duplicate Layer from the drop down menu. Or you can simply press Ctrl, Shift d to duplicate the layer, there will now be two identical layers.
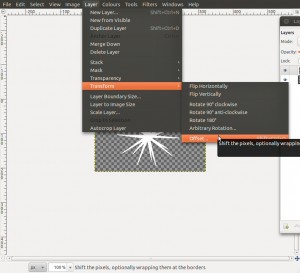
Next we need to offset the image on one of the layers to create our tile-able image. Once again there are many ways to do this but I will just list two of them. You can select Layer menu – Transform – Offset. Or Ctrl, Shift o to get to the Offset dialogue box, then click on the Offset by x/2, y/2 button, then press the Offset button (bottom right).
Now you need to merge the two layers to make it easier to tile your sheet, select Layer – Merge Down.
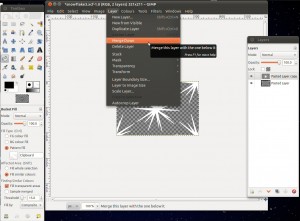
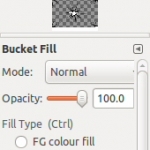
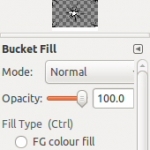
You should now have one layer which you will be able to tile with. Now to finally create the background. Two ways to go here again. The simplest way is to press Ctrl c (copy) and then select Bucket Fill tool then cheque the pattern fill button.
Now click on the patterns selection box and click on the top left box which is the clipboard and contains the tile which you saved earlier.
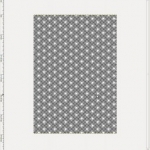
Now open a new image and select the size you want, I usually choose A4 and in the advanced options you want to select Fill with Transparency and then left click the bucket fill tool over the new image to tile the blank image.
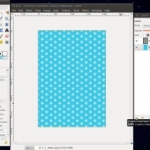
Then you can create a second layer which you can fill with any colour you like to complete the image.
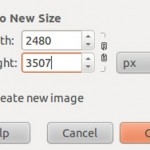
Alternative way to create the background, copy the tile press Ctrl c, then select Filters – Map – Tile…
Now choose the size you want the image you are tiling onto to be and click OK and you should have
your tiled image. I also find it helps to break the link between the width and height to avoid getting any unexpected results.
Tiling Techniques for Crafters.
Authored By: Bob Prentice.

