Black and White Photo (with a bit of colour)

This look has been popular for a long time, before computers, even before colour cameras, it would be achieved by simply colouring a section of a black and white photo with paints. Luckily for us we do now have colour photography and great graphics programs so the look can be achieved with out too much fuss, although depending on the photograph it could take a little patience.
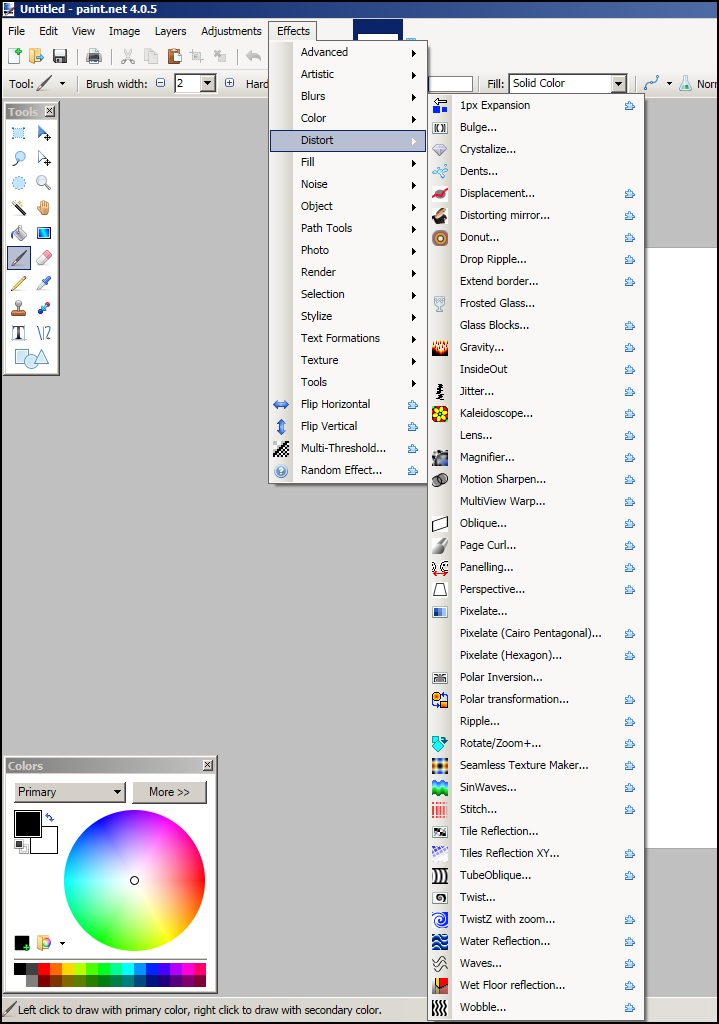
In this example I have used Paint.net but exactly the same method can be used in virtually any image editor which will allow you to work in layers.

1. Select the photo you want to use and import it into your editor. At this stage I increased the colour saturation a little as I know this looks better with stronger colours (In Paint.net this can be done in “Adjustments”).
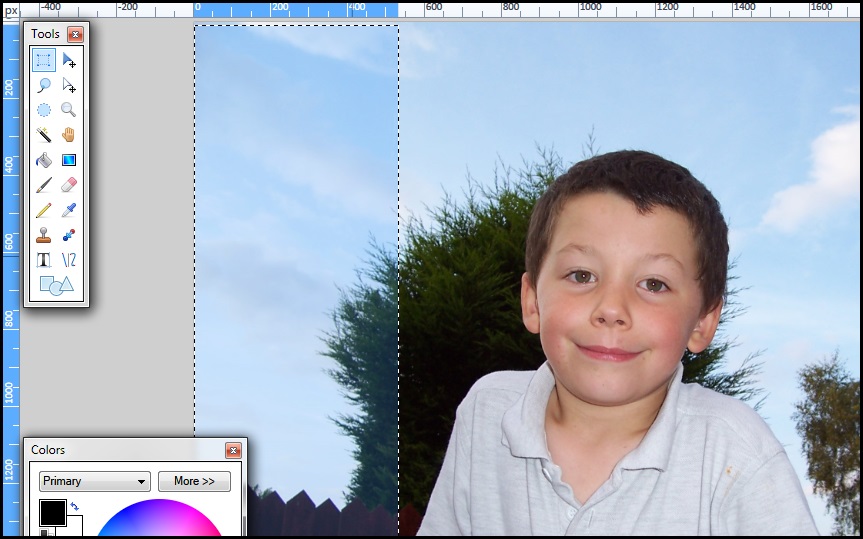
2. I duplicated the layer and then changed the top one to Black and white and increased the contrast until I was happy that it had a “strong” look without loosing the details (again both done in adjustments).
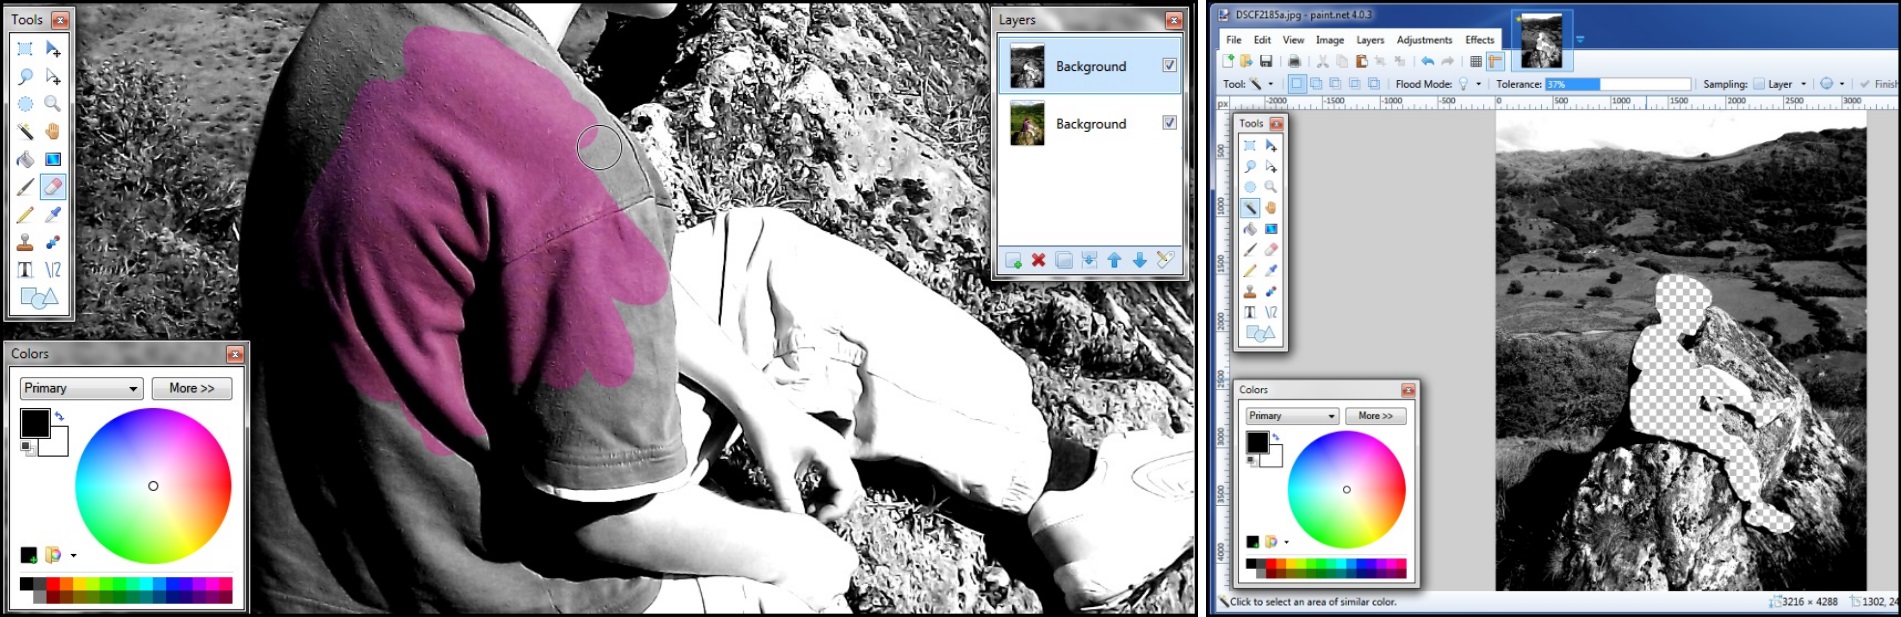

3. The third stage was to start rubbing out areas on the the top black and white layer where I wanted the colour to show through. In this case the figure. This was done mainly by using the eraser but I also used the magic wand and other selection tools at times. Don’t forget you can always use the “undo” if yo make any errors. In Paint..net you can even do this by looking at the colour layer whilst working on the black and white layer ( click on the layer you want to work on, tick the layer you want to see).
Now this last bit can take quite a bit of time especially if it’s a complicated image, you may want to take this into account when choosing an image to do. Look out for things like small strange of hair if the subject is a person or complicated foliage if a tree/plant.
This technique, although simple can be very effective on the right images. I hope you enjoy it.