There are a few important techniques when working with images which are common to almost all graphics programs, well the raster ones anyway. The one we are looking at here is making a selection, or choosing a specific area to work on within an image. By making a selection only that area will be affected when you apply an effect or some other kind of action. So if you create a selection and then hit delete only the selected area will be deleted. If you make a selection and the colourise, on the selected area will have its colour changed. Some programs do have an opposite to making a selection and that is a mask (in some programs you can turn a selection into a mask). When you use a mask you protect a certain portion of your image from being effected by any actions you take.

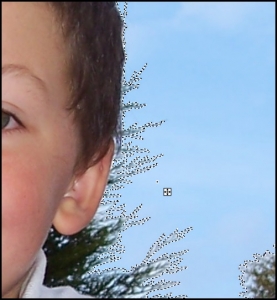
Each program will have a number of tools you can use to make a selection. Normally there is a rectangular selection tool plus an oval one. In the better featured ones there are also things like a freehand tool (also called lasso tool and other things) and a magic wand which will make a selection based on a colour or some other factor such as transparency. Each programs selection tools will work in a slightly different was and learning this is one of the ways you will get comfortable with a particular program. In addition to the range of selection tools there may also be choices about how you can use each of them, whether using the tool will create a new selection, add the area to an existing selection, subtract it from an existing select etc. etc. There are usual more than one way of getting the result you want and learning which is likely to be the best technique to use in different circumstances is also part of learning how to use a program.

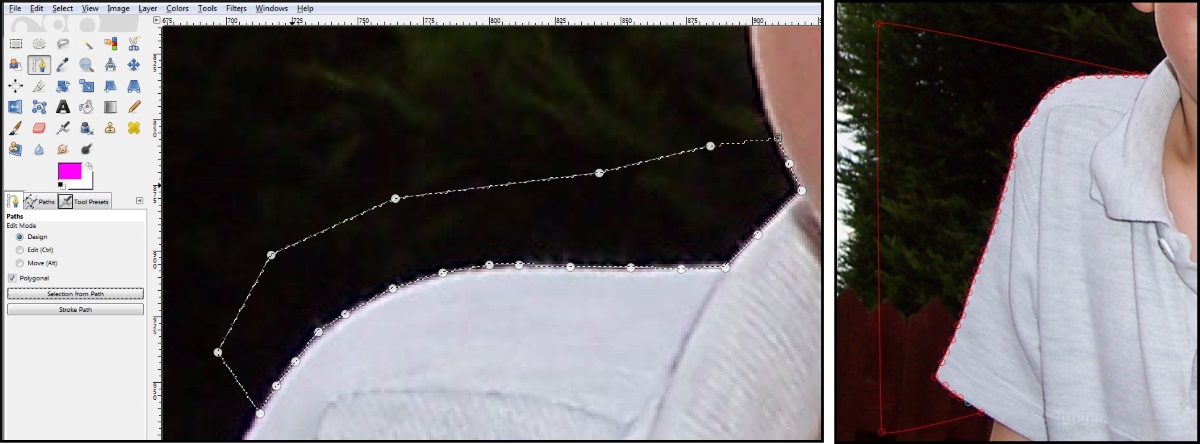
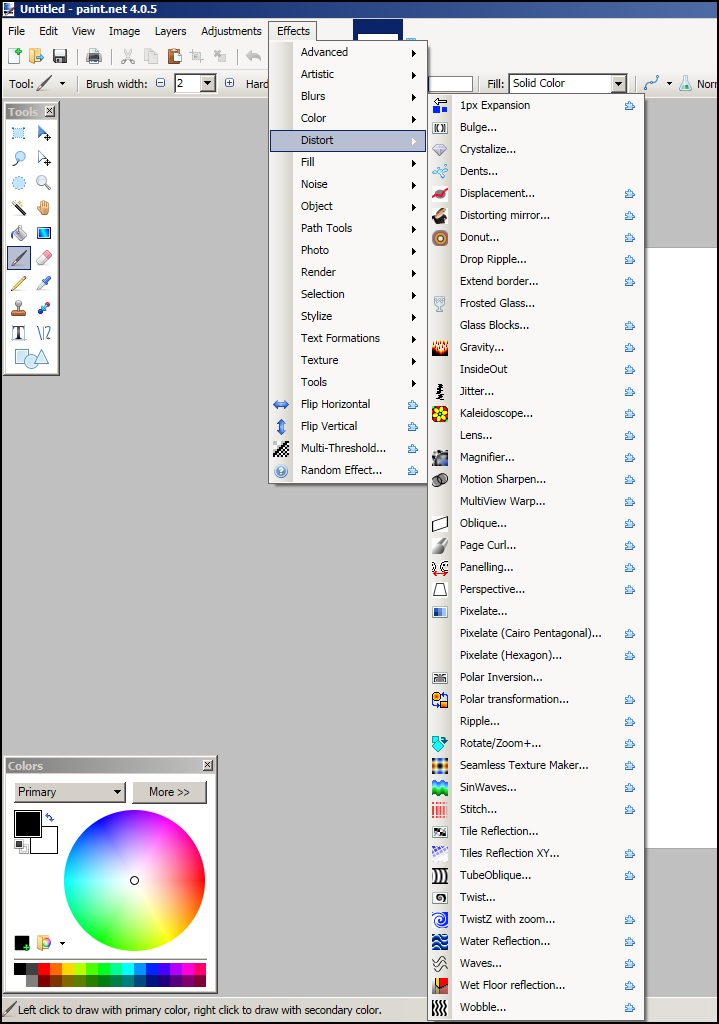
A few of the better tools have special selection tools which can really make light work of removing a background or such like. Paint.net has one called Alpha Cutter which is a plug in which you can add to the program. This plug in will only let you cut an area out, not actually make a selection as such, but it is very useful. In GIMP you can use the path tool to make a shape which can be turned into a selection at the end. As it has been turned into a selection you can use it for any of the normal selection processes.

For demonstration purposes we took one photo and had a play with it but do remember selections are useful things to use whether you are working on an existing image or creating one from scratch. Here’s what we did in the four images below:
- Top Left. We selected the figure. Inverted the selection so only the background was selected and then applied a colour filter.
- Top Right. This time we just selected the t-shirt and colourised it to make it a brighter colour.
- Bottom Left and Right. In both instances we selected the background and deleted it so it became transparent. (You will need to use a program which can handle transparencies. We then copied it, resized it and pasted it on top of two photos of the places you can see in the background.
There really is no end to the fun you can have playing with selections although they are used in the full range of image manipulation. Practice with the program you have chosen to use and you will soon learn the full range of techniques you can use the different selection tools for.


