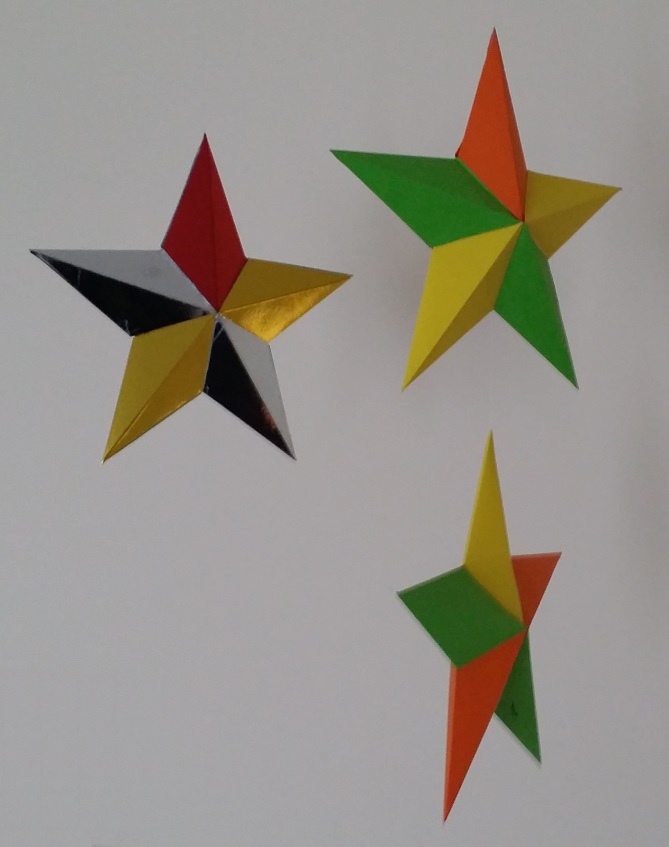
I like this project and once the cutting out has been done, it can be followed by both adults and children. The best thing about this gift favour box ( favor ) is it can be used with any of our landscape papers and therefore it can suit all occasions. You can choose one of our Wedding Designs, Birthday Designs, Fathers Day, Mothers Day, in fact any of the landscape designs to make it suit your needs.
Equipment Used in the Gift Favour Box
White Thick Paper or Card
Glue or Double Sided Tape
Sharp Craft Knife
Blunt Knife
If you want to follow our project exactly then we have given the links to the free designs we have used off the site. Having said that we suggest you have a good look round and find the design which best suits your needs. Obviously you don’t even have to stick to our designs. If you have any A4 designs on disc or already saved on your computer then you are free to use those.
Firstly you will need the template design itself. As normal is is completely free to download and you can do it by clicking this link and selecting the big download button on the right hand side of the page.

Written Instructions for Gift Favour Box
First you need to choose and download the design you want, as we had already said, any of our A4 landscape papers will do. Then you need to download the gift favour box (favor box) template. No print out your sheet with the design on one side and the template on the other. We used a thick (250 gsm) photo paper which was glossy on one side. We printed the design onto the glossy side and the template onto the mat side.
Now you will need to cut out all the solid lines on the template, you can use scissors for most it if you prefer (we used a sharp craft knife on a cutting mat)but you will probably need to use a craft knife anyway for the triangles. Once it has been cut out you will need to score all the dotted lines. For this we used the wrong side of a pretty blunt knife. You can do all the scoring on the template side as yu will be able to use these marks to fold either way. Next you need to actual do the folding. This is a bit difficult to explain in writing so I suggest you watch at least this bit on the video. After ensuring it can fold correctly you can glue the flaps.
Finally you can close one end by pushing down and rotating 90 degrees (again best seen in the video), put in what ever you want and then close the other end. These boxes can be opened an closed as often as you want so don’t worry about changing your mind about what you put in it.
We hope you found this gift favour box project useful. We will be doing more in the near future.


