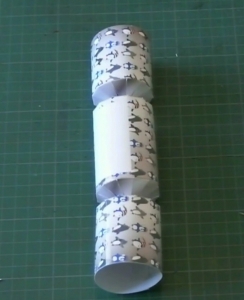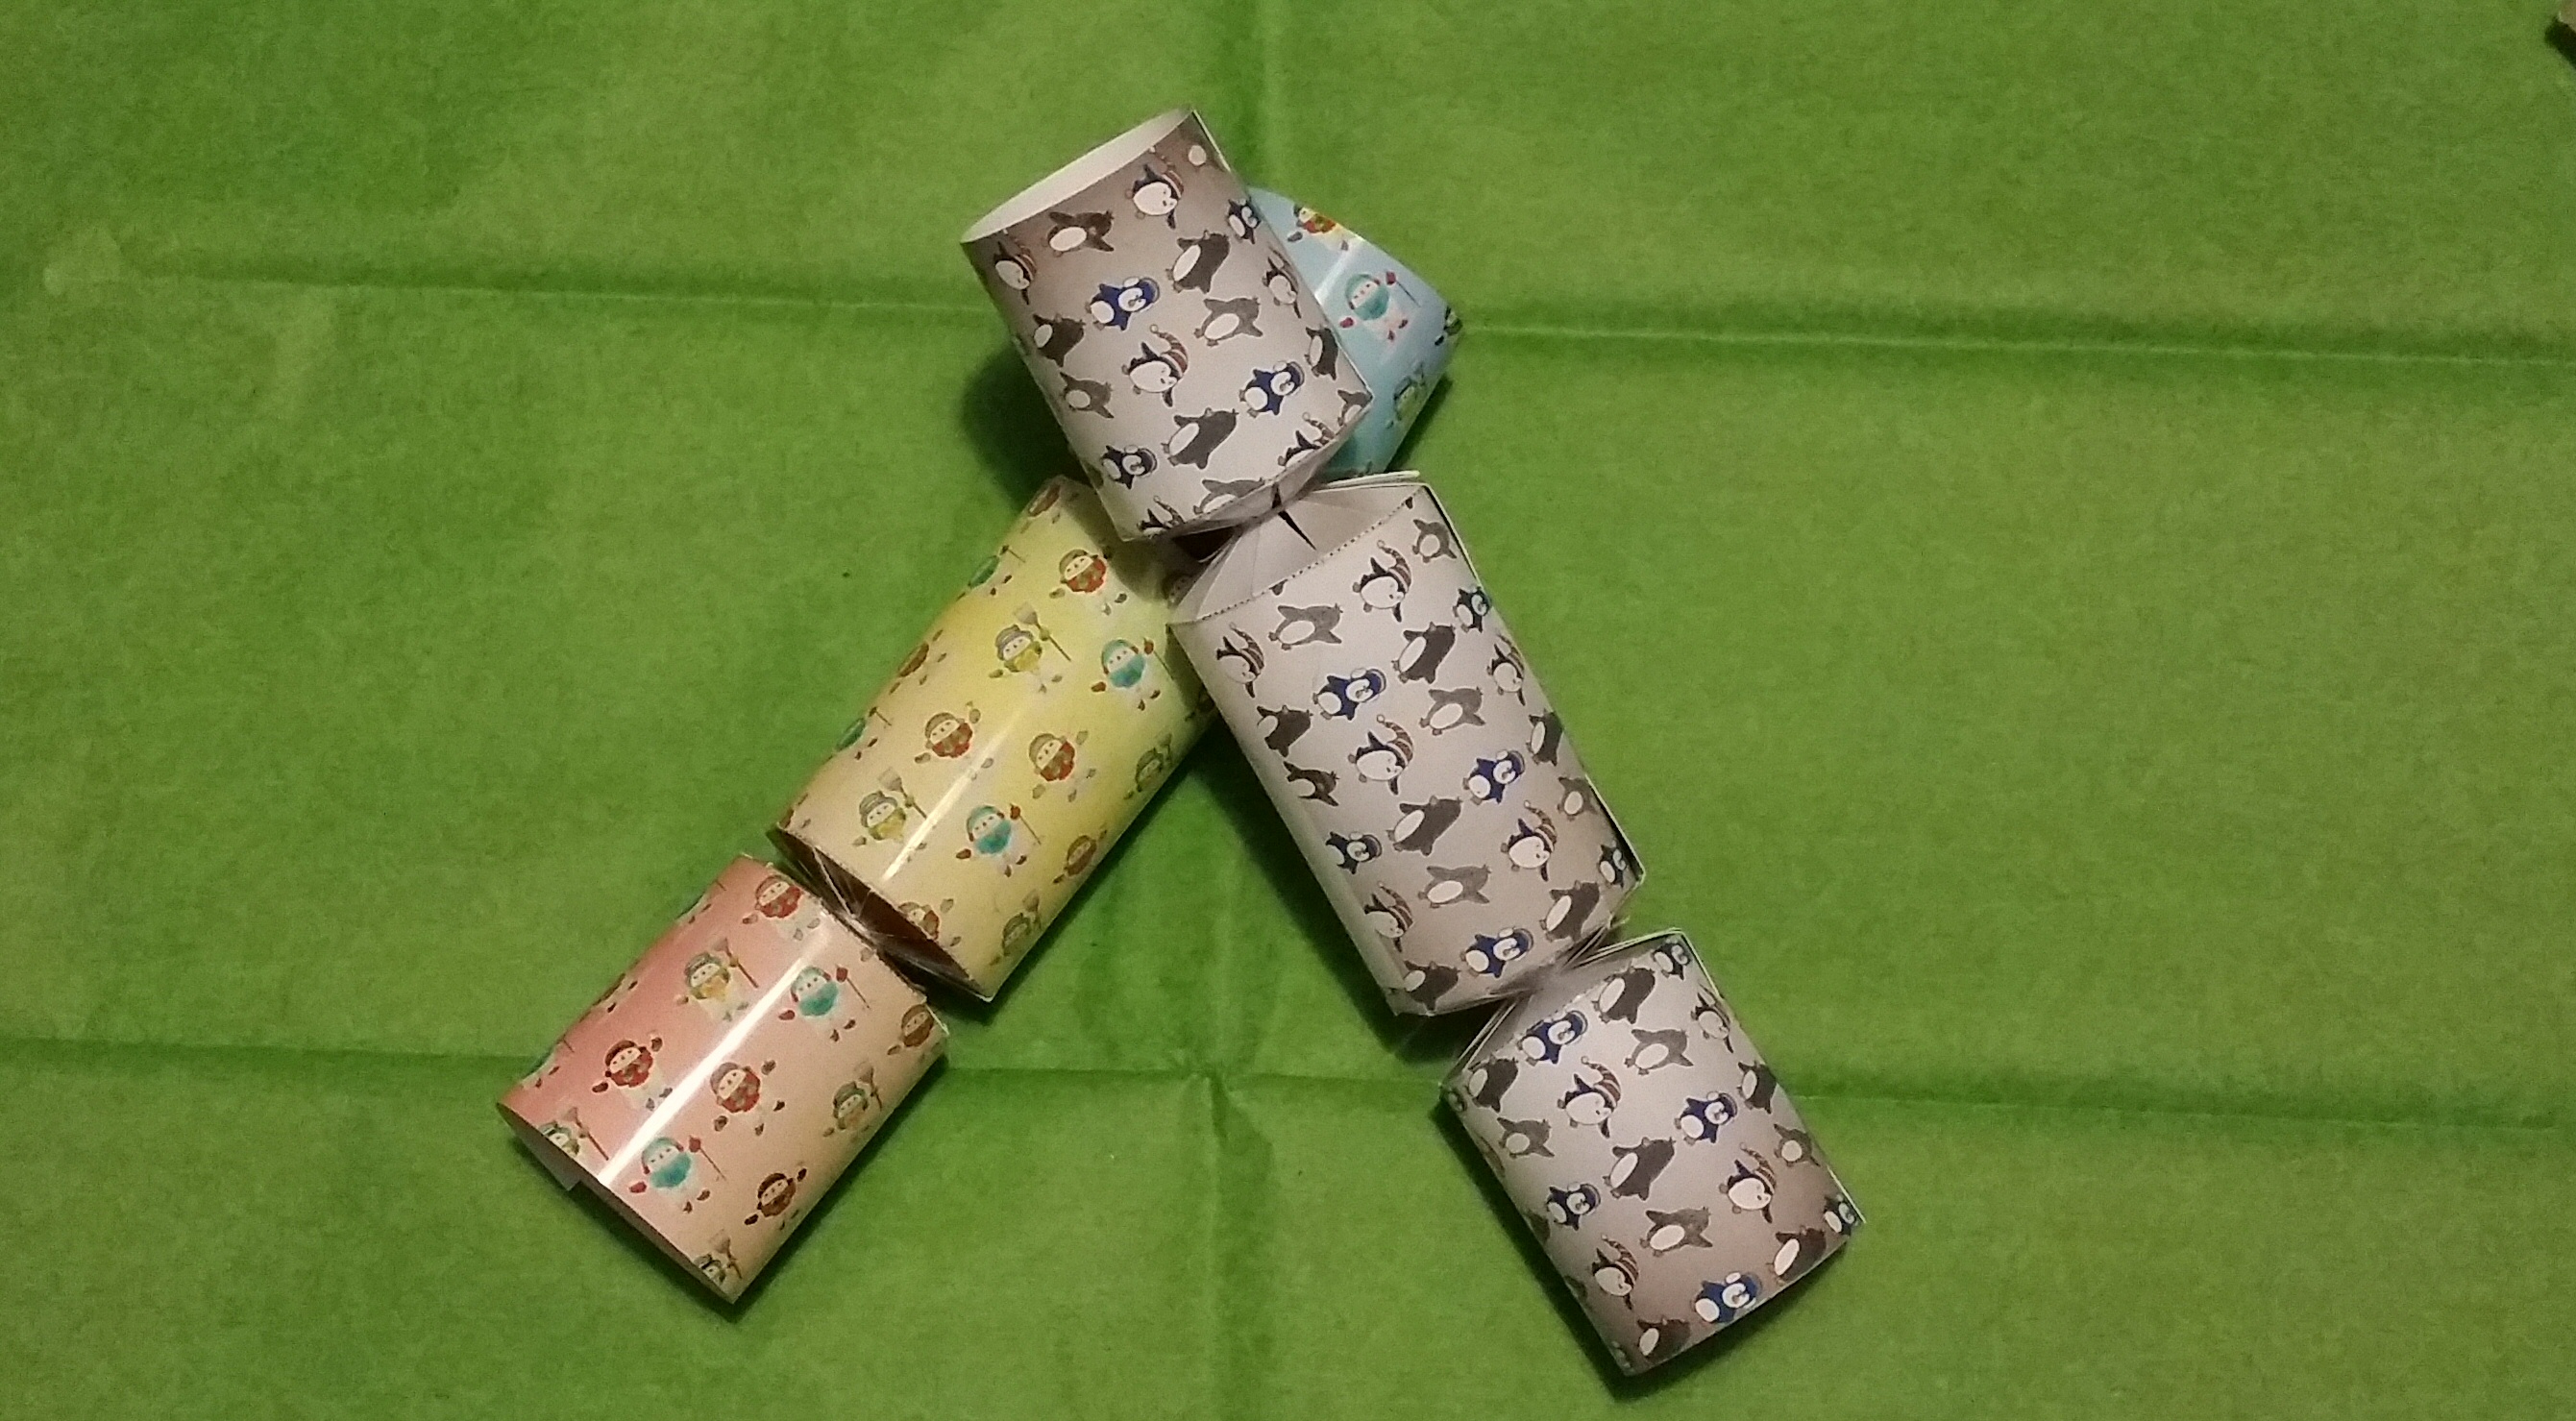
We’ve made a favour box Christmas cracker before but this is more of a traditional Christmas Cracker Project. The project enables you to make a simple Christmas cracker using one of our designs. There are many different designs available to download.
By making your own crackers you can add some items inside which are specifically for a person. One set of the designs even has a space on to write the person’s name and a short message. (You wouldn’t want the wrong person getting the wrong cracker!).
I’ve used a “snap” inside which I bought of Ebay, about £4 for 72 but don’t worry if you don’t have these, it isn’t absolutely necessary.
(we suggest you click the link on the bottom right of the video and view it full screen.)

Equipment / Material used to make the Christmas Cracker Project.
White Photo Paper (Glossy/Thick) or something similar.
Scissors*.
Glue which will hold card and/or clear tape.
Craft Knife.
Blunt knife (or something else for scoring).
Ruler.
Cotton or Ribbon.

For Inside the cracker.
Paper Hat made from Crepe Paper.*
Small Present.
Joke.*
Cracker Snap.*
Christmas Cracker Templates.

Making the Cracker.
- Choose one of the designs either with or without the white writing space and print it onto your thick paper.
- Cut the design out but NOT the white writing space if you choose that design.
- If you have the design with the white writing space then write on it now whilst it’s flat.
- Score the fold lines and make the folds.
- Roll the cracker so it starts forming the basic shape.
- Add the cracker snap if you are using one.
- Build one end, then build the middle section.
- Use cotton or ribbon to tie between the end and middle sections pulling it together.
- Put in items (joke, present, hat) from the still open end.
- Build the second end and then again tie between that end and the centre section with you cotton or ribbon.
Now you should have your completed cracker. We hope you enjoy making them. Please do look at some of the other Christmas craft projects we have on the site.


Have been inspired to make Christmas “surprise” crackers.
Hope you enjoy making them. Have added some more cracker designs this week so you will have even more choice now!
would have loved to do this, but can’t find how to download the templates
Hiya, Just follow the link above to the templates, select one you like and you should come to a page like this with your chose design on:
https://www.craftville.com/free-craft-downloads/templates/Christmas-Cracker-Project-Templates/Cracker-Templates/christmas-cracker-01
On the right-hand side you should see a button marked “Download Fullsized Image”. Just click on that.
Please come back to me if you continue to have issues.