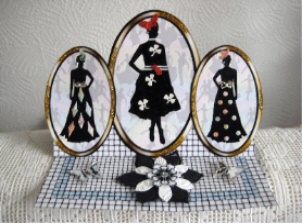
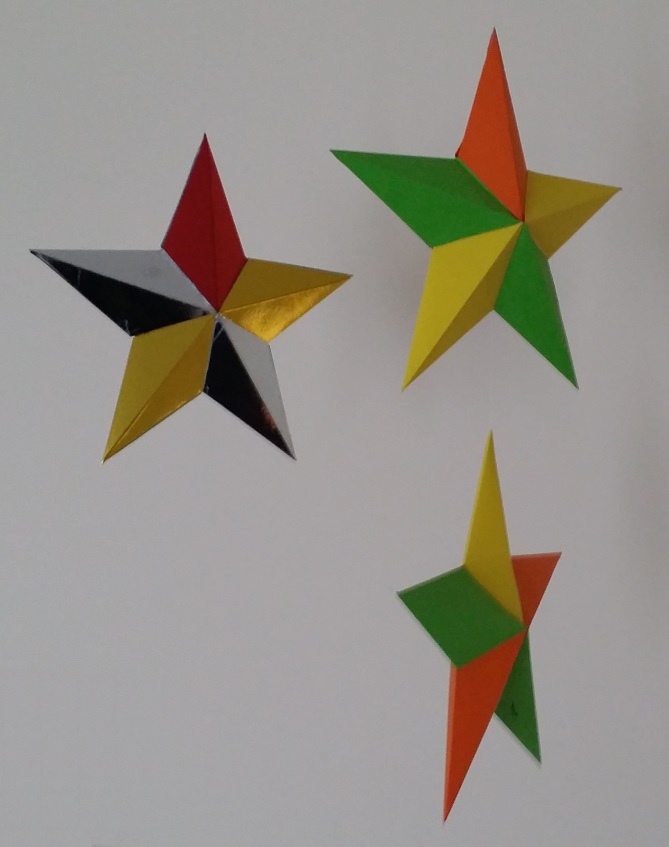
Flat Backed Star. Christmas Project.
This is a simple be effective project to make a flat backed star for Christmas.. You can make individual stars or a group of them. The choice is yours.
Just a couple of things to mention before we start.
- I made the examples out of card. I did try on in paper but it didn’t hold its shape correctly. I still think paper would work but it would have to be thick paper, maybe the glossy photo paper I use sometimes.
- You have choices to make when thinking about the starts decoration:
- The simplest method would be to use silver, patterned or gold card. The templates it printed and built from the back so printing that on the other side wont spoil the effect of your card.
- If you don’t have any special card you can use white card, print one of our designs on one side (we have lots from plain silver/gold through to Christmas patterns) and the template on the other.
- The final method of decoration is to just make white stars and then decorate them as you wish. We used this methodand decorated them using poster paints and glitter/stars.
Equipment and materials needed needed:
- Scissors and if possible a sharp craft knife.
- Blunt knife for scoring.
- Coloured. Patterned or White card (depending on your decoration preference).
- Glue capable of sticking the card.
- Paper clips.
- Cotton to make hanging loop.
- Paint, Glitter or other items for decoration.


Flat Backed Star Instructions:
- Print out the template onto your card.
- Cut out the template using the blue lines (Fig 1).
- Score both the black and relines on the template.
- Fold the lines as directed with black being valley folds and the red being a mountain fold. (remember you are working on the back of the star so you are building it the “wrong way up”.).(Fig 2).
- The folding can be a tad difficult but there is a technique. Work your way around the star in a single direction, (I will do a video showing this when I get some time).
- Fold and glue 4 prongs of the star. The small tab goes on top with the large tab under it. You can use a paperclip to hold each prong whilst it sets. (Fig 3).
- Now is the time to do any decorating you want. This is the fun part. If you have young children you can make the star but let them do this bit.
- The final part is to make a hanger by putting a paperclip on a loop of cotton. Place the paperclip inside the final prong (the one you haven’t glued). Run the cotton loop out of the top of the prong and then glue the prong up.)(Fig 4).
As with may paper craft projects the first star you make may be quite slow. You may have to refer to the instructions a few times. After you’ve done it once however you should find it a very simple process. Must admit I still make little errors when k=making these flat back starts. The most common one is to glue up the wrong site of the small tab when putting the prongs together!

The flat backed star project is great both for adults and children There is nothing like having some lovely handmade Christmas decorations around your home.